
Propane Gas Torch Refill How Do You Refill Safely?
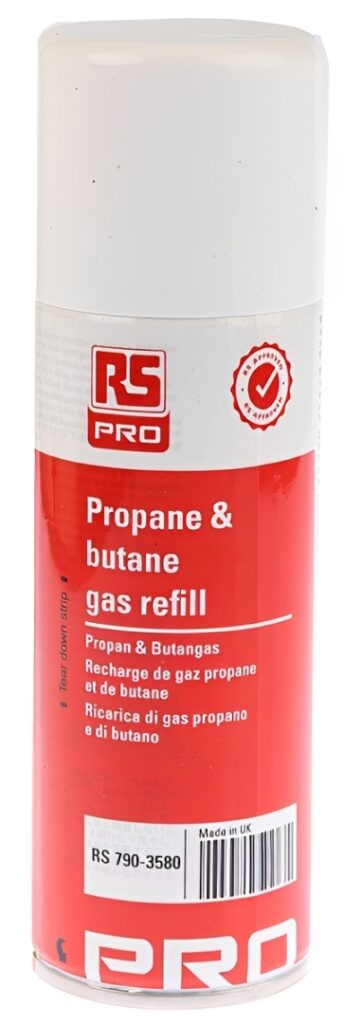
Propane Gas Torch Refill
A Propane Gas Torch Refill keeps your torch ready for soldering, heat shrink work, DIY repairs, and workshop jobs. When you refill correctly, you get steadier flame control, cleaner ignition, and fewer interruptions. This guide explains safe refill practices, common torch connections, and product selection so your refill setup matches your torch and your work.
Why the right refill matters for torch performance
A propane torch depends on stable pressure and a clean gas path. If you use the wrong canister type, a poor adapter, or skip basic safety checks, you can end up with weak flames, sputtering, or leaks.
A good refill routine also protects nearby electronics and components. On a bench with cables, connectors, contactors, switches, LEDs, and fuses, safe handling reduces the chance of heat damage and accidental ignition.
Know your propane torch refill types
Different torches and refills use different valve standards and fuel formats. Before you buy or refill, match these details.
Disposable canisters
These are common for portable torches. They are easy to replace and store, and they suit quick jobs like heating seized fasteners or shrinking tubing around cables.
Look for:
- Compatible valve style for your torch head
- Reliable seal and clean threading
- Capacity that fits your usage frequency
Refillable cylinders
These can be practical for higher usage, especially if you use a torch for repeated soldering and thermal tasks. They often require a regulator and hose setup, so workspace safety becomes even more important.
Look for:
- Correct regulator range for torch demand
- Hose condition and fitting compatibility
- Stable storage position and ventilation
Mixed fuel options
Some torches support propane or propane blend fuels. Use what your torch manufacturer recommends. The wrong fuel can affect flame temperature, ignition, and how the torch behaves in colder conditions.
Propane gas torch refill safety checklist
Before you connect anything, set up a safe refill space. Small habits prevent big problems.
- Work in a well ventilated area
- Keep the torch away from sparks, open flames, and hot surfaces
- Clear the bench of oils, solvents, and loose packaging
- Keep heat sensitive items like laptops, sensors, and controllers at a safe distance
- Inspect the torch head, valve, and seals for dirt or damage
- Keep a suitable fire extinguisher nearby for workshop environments
If your setup includes electronics work, treat propane like any other shop hazard. Keep microcontrollers, microprocessors, capacitors, thermal pads, and test leads away from the refill zone so you do not accidentally expose them to heat or gas.
Step-by-step propane gas torch refill process
Use these steps for a typical torch and canister connection. Always follow the specific instructions provided with your torch and refill product.
Step 1 Prepare the torch
- Turn the torch control fully off
- Let the torch cool completely
- Remove any attachments or tips if recommended by the manufacturer
- Wipe the connection area so debris does not damage seals
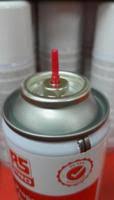
Step 2 Check the canister and connector
- Confirm the fuel is propane and the canister is undamaged
- Check the valve area for dirt
- Verify the connector threads match and are not cross threaded
- If your setup uses an adapter, confirm it is rated for propane and intended for your torch type
Step 3 Connect slowly and securely
- Hold the canister upright on a stable surface
- Align threads carefully before turning
- Tighten firmly by hand only unless instructions specify otherwise
- Avoid overtightening, which can damage seals and create leaks
Step 4 Leak test before lighting
A leak test is essential, especially in workshops where contactors, switches, and other electrical hardware may create sparks.
- Listen for hissing
- Smell for gas, but do not intentionally inhale
- Apply a small amount of soapy water around the joint
- Look for bubbles that grow, which indicate leakage
If you find a leak:
- Turn everything off
- Disconnect outdoors if possible
- Inspect the seal and threads
- Replace the seal or use a different canister or adapter if needed
Step 5 Ignite and adjust the flame
- Point the torch away from your body and away from materials
- Ignite using the built in igniter or an approved striker
- Start with a low flame and increase gradually
- Watch for a steady blue flame, which usually indicates good combustion
For tasks like soldering and heat shrink, a controlled flame helps protect nearby connectors and cables from overheating. For thermal work near sensitive assemblies, keep flame movement smooth and avoid long dwell times in one spot.
Choosing a refill product that matches your use case
If you are buying a propane refill for your product line or listing, highlight practical selection factors your customers care about. This makes the blog directly relevant to purchase intent.
Capacity and run time
Bigger canisters reduce changeovers, but they add weight. Smaller canisters suit portable tool bags and quick site work.
Valve and fit compatibility
The most common customer frustration is mismatch. Encourage buyers to check:
- Torch model compatibility
- Thread type and connection style
- Whether an adapter is required for their torch head
Flame stability for precision work
For soldering accessories, electronics repairs, and cable termination, a consistent flame matters. Customers working around sensors, controllers, and microcontrollers will prefer a refill that supports stable output and smooth adjustment.
Storage and handling features
- Sturdy canister construction
- Clear labelling and safety guidance
- Good cap protection for transport
Common refill problems and how to fix them
Weak flame or sputtering
Possible causes include low canister pressure, cold ambient temperature, or a partially blocked torch jet.
Try:
- Warming the canister slightly by bringing it to room temperature
- Cleaning the torch tip area according to manufacturer guidance
- Confirming the control valve is not partially clogged
Torch will not ignite
If ignition fails, do not keep clicking repeatedly near a suspected leak.
Try:
- Rechecking the connection
- Doing another soapy water leak test
- Inspecting the igniter and ensuring it is dry and clean
Smell of gas after connecting
Treat this as a leak until proven otherwise.
Do:
- Turn off immediately
- Ventilate the area
- Refit the connection and retest
Avoid using oils or lubricants on propane fittings unless the product explicitly allows it. Many oils can degrade certain seals, and they can also increase fire risk.
Safe use tips for workshop and electronics environments
Propane torches are often used near mixed equipment, not just plumbing parts. If your customers use torches around
, include guidance that fits their reality.
- Route cables away from the flame path before heating
- Shield connectors and plastic housings when applying heat nearby
- Keep fuses, switches, and contactors away from the heating zone
- Use thermal pads or heat shields where appropriate for sensitive areas
- Keep laptops and test instruments out of the immediate work area
- Allow parts to cool before touching or reinstalling components like capacitors and controllers
Final checks before storing your torch and refill
After use:
- Turn off the torch valve fully
- Let it cool in a safe place
- Store the canister upright and away from heat sources
- Inspect the connection area occasionally for wear
When you follow a careful Propane Gas Torch Refill process, you reduce risk and improve performance. You also give customers confidence that the refill product they are buying will work cleanly, safely, and consistently for real workshop tasks.